Must have Outlook installed on system using to migrate.
Go to Control Panel
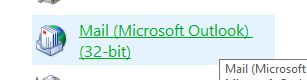
Select Mail (Microsoft Outlook)
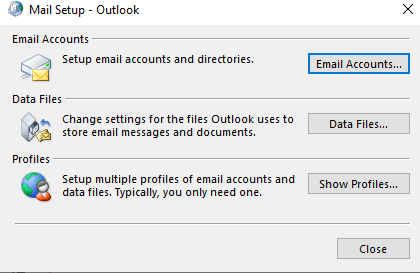
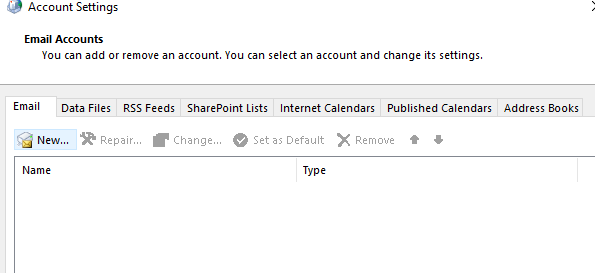
Select Email Accounts in Mail Setup – Outlook Window
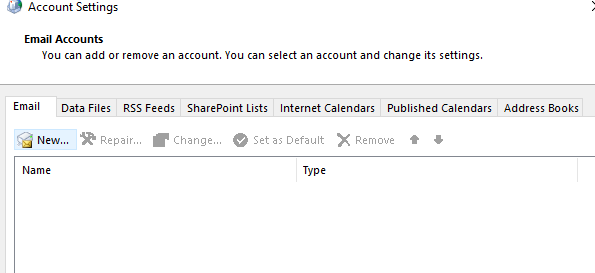
Select New in Account Settings, Email Accounts
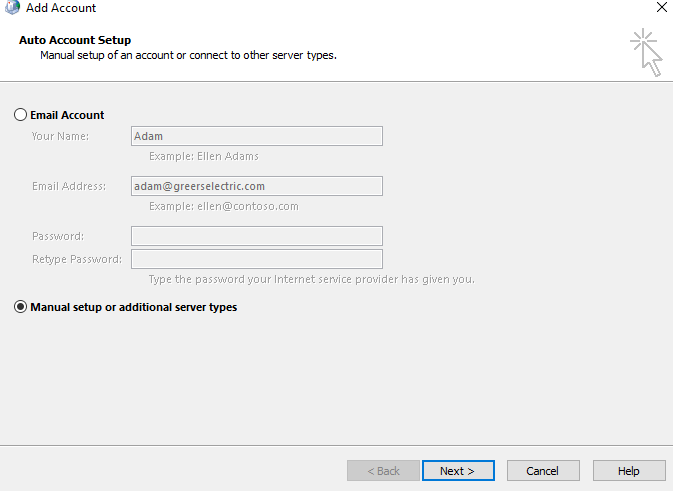
Select Manual Setup or additional server types
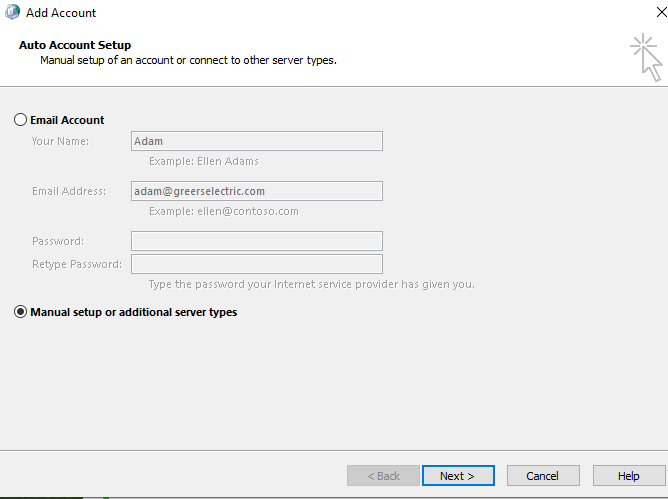
Select Next
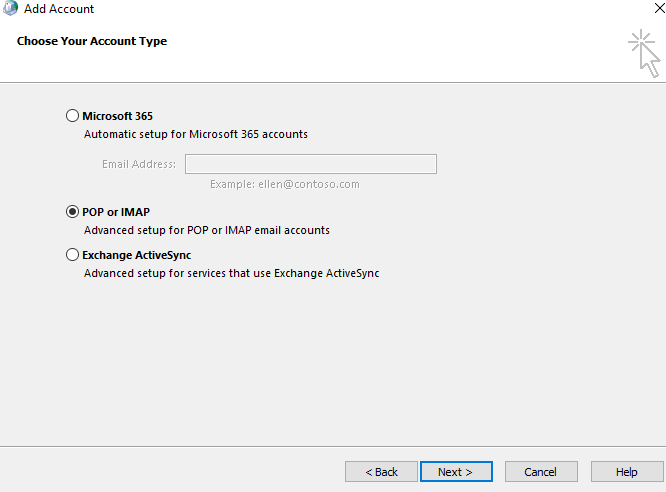
Select IMAP
Input info for account migrating from:
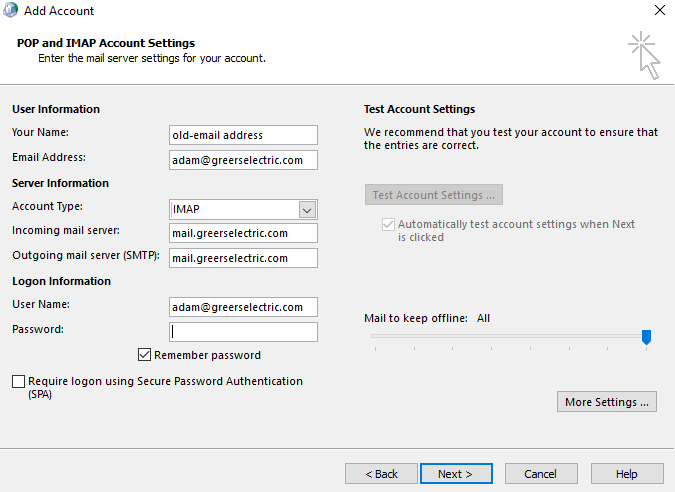
Now if you their server hit next. If you are on VS server hit More Settings
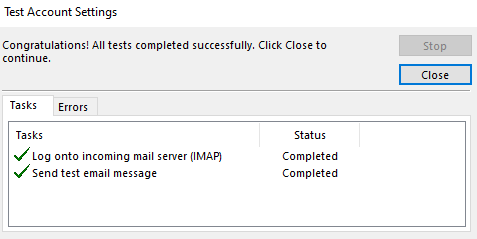
If Success Message close out of all windows before opening Outlook
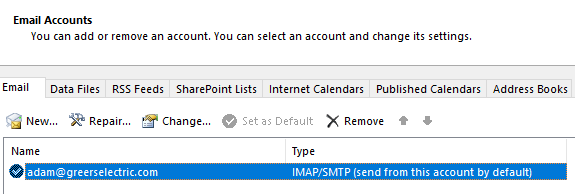
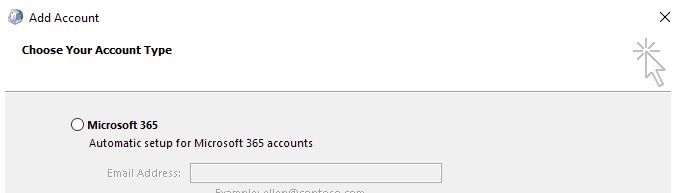
Add another Account for Microsoft 365
Select New
Open Outlook
Go to the old account and rename it.
File
Account Setttings
Rename
Change to Old or something that allows you to the accounts apart.
Look at the bottom bar on the window. This bar should be showing the progress of receiving the emails. Wait until process is complete. This may take a few minutes to populate.
Right click each folder to get totals to populate. Need to see exactly how many emails in each folder. See exactly how many emails are being migrated from old account. Log into the old account to ensure totals all sync up. For example if there is 350 emails in a folder; 350 emails must be in the folder in outlook that you can visually verify. This number is what will determine the success of all emails migrated.
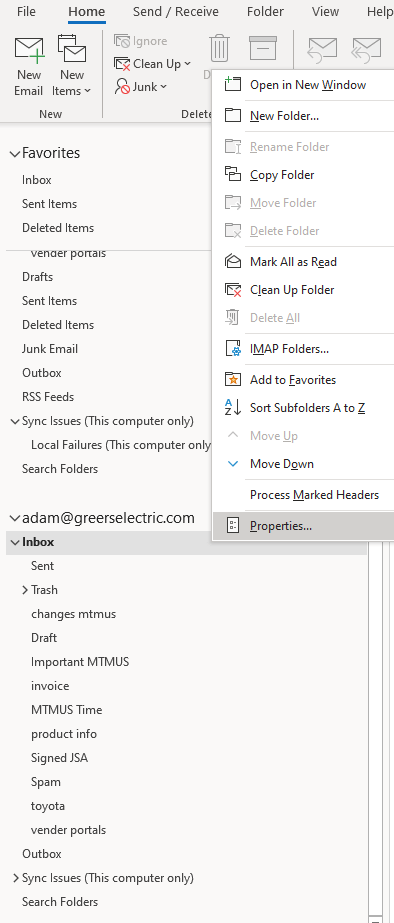
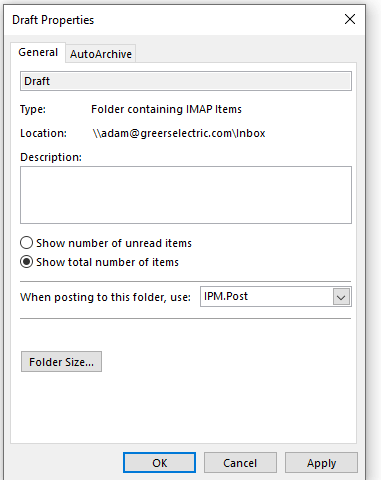
Go to Inbox and Select IMAP on right click
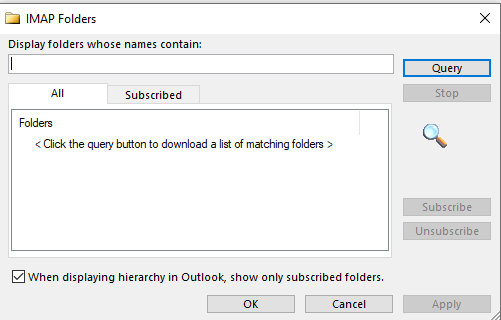
Uncheck: When displaying hierarchy in Outlook, show only subscribed folders.
Select Query to see all the folders
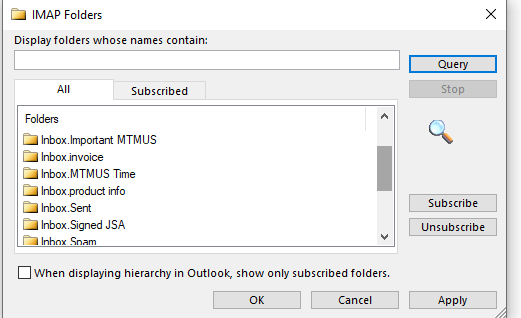
Make sure to scroll through folders and make sure all folders are subscribed to. There may be a few folders that are not subscribed to initially. This can be seen by a Inbox with no colored yellow folder next to it. If this is the case make sure to Subscribe by selecting the folder and hitting the subscribe button. The folder should show up in bright yellow now. This will ensure a full migration.
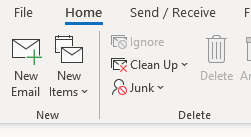
Run through Send and Receive several times ensuring full population.
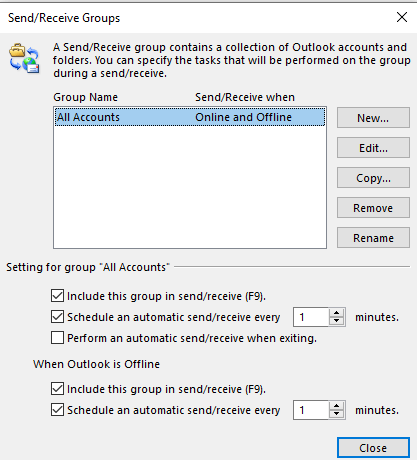
Make sure all folders are selected.
Right click and select check all folders
Go through the folders and make sure all are selected.
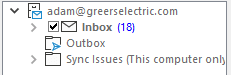
Run Send and Receive again

Now all email is ready to Export
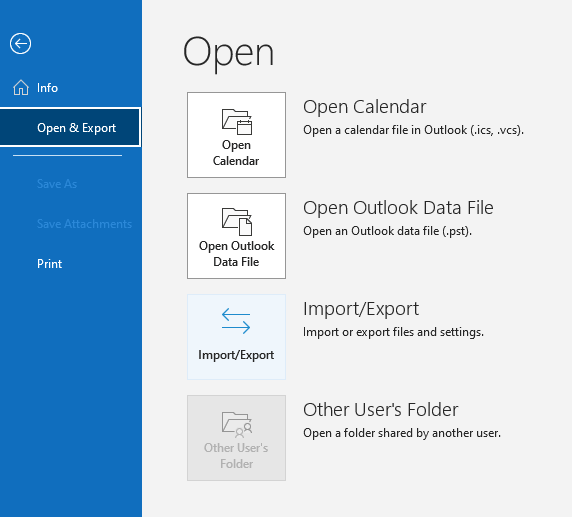
Go to File
Import Export
Export
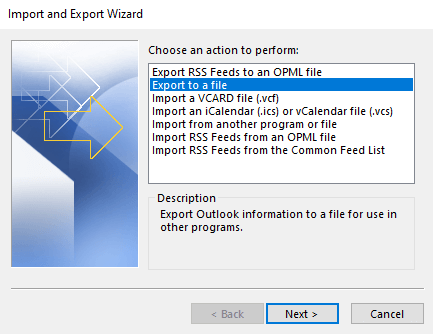
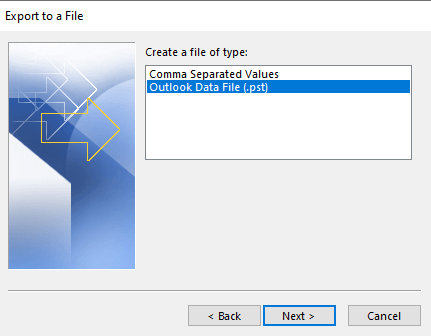
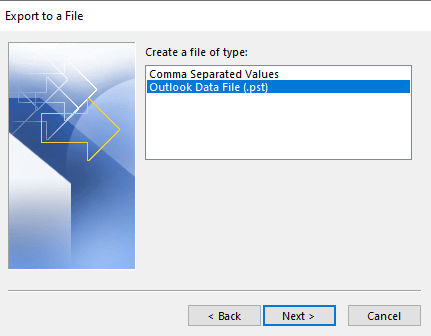
Select the .pst
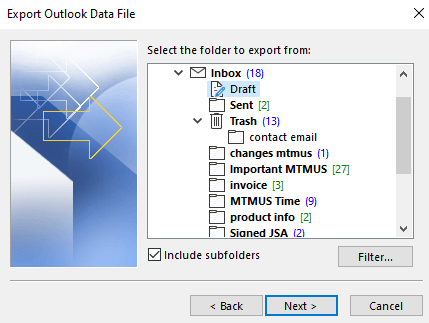
Select Replace duplicates with items exported
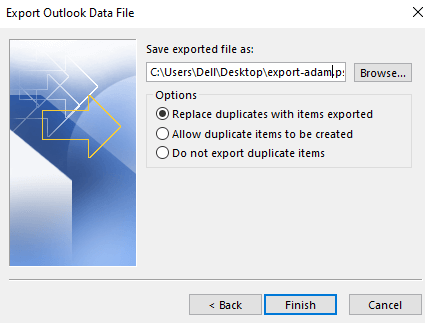
Hit Finish
Now import the exported .pst file to the new email address.
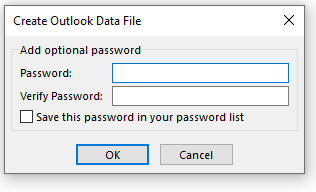
Now Import the .pst file
Go to File
Export/Import
Select Open and Export
Import/Export
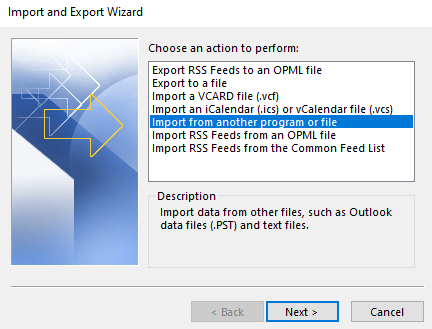
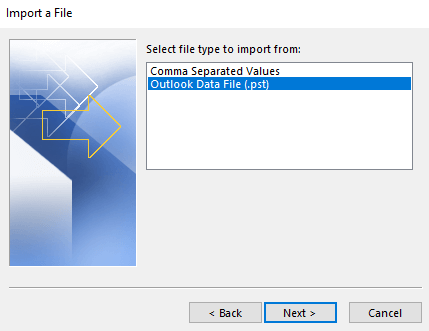
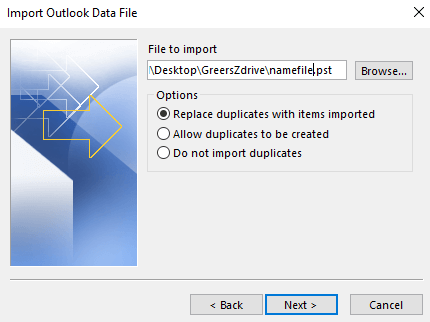
Select the new file folder and make sure sub folders are included.
Now make sure totals under properties are selected for allow to update. Could take a while.
Select send and receive to regenerate and ensure transfer.
Look at all totals ensuring all emails in old account are showing in the new account.